


 Cruelty Free Since 2017
Posted by
Posted on
Categories
Nail Designs, TutorialComments
2 CommentsRed & Pink Dot on Dot Nail Art Tutorial

This design is so super easy, it probably doesn’t even need a tutorial! But this is my first one, and I wanted to start simple. This look only requires two of your favorite contrasting colors, and some dotting tools.
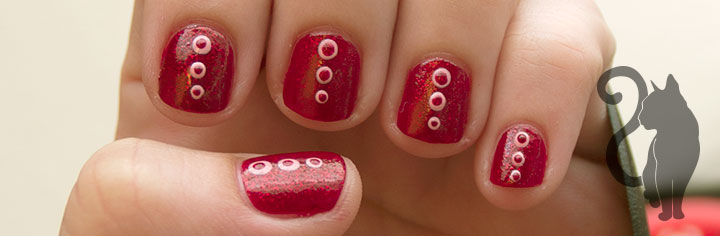
Simple Red & Pink Dot on Dot Nail Art


Steps
Start by preparing your nails first by giving yourself a nice manicure. You might also use 1-2 coats of a nail treatment (such as OPI Nail Envy Nail Strengthener) followed by 2 coats of basecoat (such as using Essie Protein Base Coat). Then you are ready for the fun!
- Gather Your Supplies:
- Basecoat and topcoat
- Dotting tools in various sizes
- Two contrasting nail polish colors, your base color being a glitter coat with a matching undercoat. You can test your colors out on top of each other on a sheet of paper first to make sure you are happy with your choices
- Cuticle stick
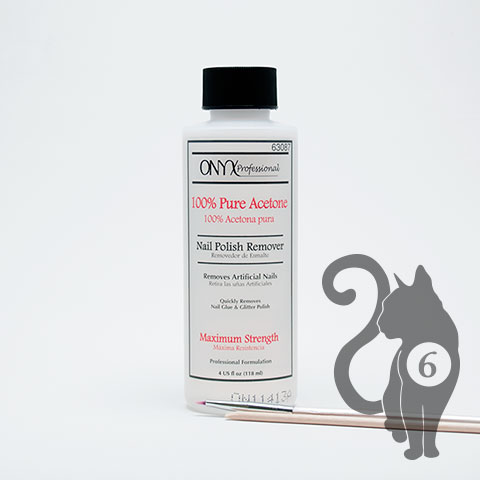
- Acetone or DIY Acetone-Glycerin
- Clean up brush
- Q-tips
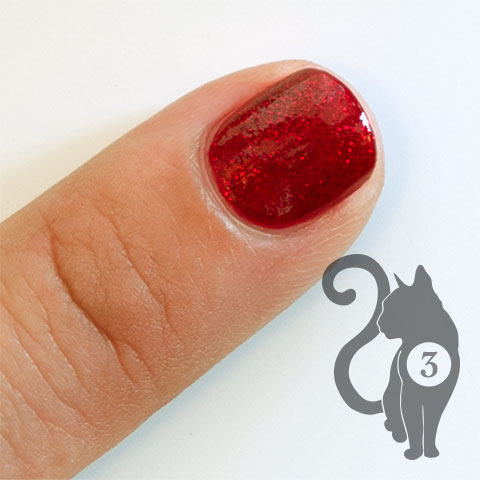
- Undie Coat – Apply 1-2 “undie” coats of nail polish so you will only have to use 1-2 coats of your expensive glitter polish, rather than 3-4.
- Glitter Coat – Apply 1-2 coats of your glitter nail polish.
- Under Dots – Using your contrasting polish color and graduated dotting tools, create a line of three dots from large to small in the middle of each nail.
- Over Dots – Starting with the second largest dotting tool you used before and choosing one smaller one, create smaller dots on top of each dot in step 4 using your base color again. I like to immediately put two dots right on top of each other to ensure the dot is opaque.
- Clean Up – Allow your design to dry 10-15 minutes and apply 2 coats of topcoat. Using a brush dipped in acetone, clean up your cuticle line. Moisturize and, voila! Your done.
Get the Look
For this look I used:
- Wet n Wild – I Red a Good Book
- China Glaze – Ruby Pumps
- Pure Ice – Love
- Bundle Monster Dotting Tools
Related Posts - More Nails!
 Best Nail Art Accounts on Instagram - Part 4 Indie Polish Brands
 Vintage Abstraction - Sally Hansen Vintage Confetti
- Best Nail Art Accounts on Instagram - Part 3 Nail Polish Brands
 Home Surf Beach Nail Art with KBShimmer 2015 Summer Collection
- Best Nail Art Accounts on Instagram - Part 5 Nail Art Hobbyist Small Accounts
 Shocked Black Cat Nails
I love this nail art design, the tutorial is very easy to follow. I will try this one on my nails. Thanks for the tutorial.
Yay! I’m glad you liked it. I haven’t done too many tutorials but I do hope to create more like this.